Hi there!
Eyebrow lamination is a popular beauty treatment that allows you to improve the look of your eyebrows by shaping them into the coveted shape, increasing their volume, and strengthening the hair structure. The treatment is non-invasive, provides a natural look, lasts for several weeks, and… can be done at home! Brow lamination is undoubtedly a treat for the busy. It takes less than an hour to make your eyebrows look like after a professional beauty salon for 6 weeks. Now I go without makeup more often, I only brush through my brows with a spoolie in the morning.
In today’s post, I’ll tell you what at-home brow lamination is, what effects you can achieve, and whether it’s worth trying. Read on! 🙂
What is eyebrow lamination anyway?
Brow lamination is a beauty treatment that’s aimed at shaping brows, increasing their volume, and improving their condition. During the brow lamination treatment, a special lifting product is applied on the eyebrows. Thanks to the properties of thioglycolic acid, the hair cuticles open up, allowing them to change their shape. The shape and position of the eyebrows are then set with a special fixer to ensure they stay in place for a longer time. The treatment takes about an hour, and the effects last 4-6 weeks, depending on the brow type and their maintenance afterward.
Eyebrow lamination – who is it for?
Brow lamination is recommended for anyone who wants to improve the look and condition of their eyebrows, add shine, and give brows a thicker look. This is a good solution for owners of sparse, short, and fair eyebrows that require daily styling. Girls with unruly brows that stick out in different directions can also benefit from eyebrow lamination. It makes brow hairs softer and more manageable. In addition, people with sensitive skin or who often suffer from allergic reactions to brow styling products can benefit from lamination as an alternative to other beauty procedures.
Is it worth trying brow lamination at home?
If you have problems with managing your brows and styling products do not provide you with the desired results, brow lamination at home is a great solution. It’s inexpensive, doesn’t take a lot of time, and I think everyone can manage it. All you need is a good kit brow lamination kit for home use that contains all the necessary products and accessories. More info below 🙂
My favorite Nanobrow brow lamination kit
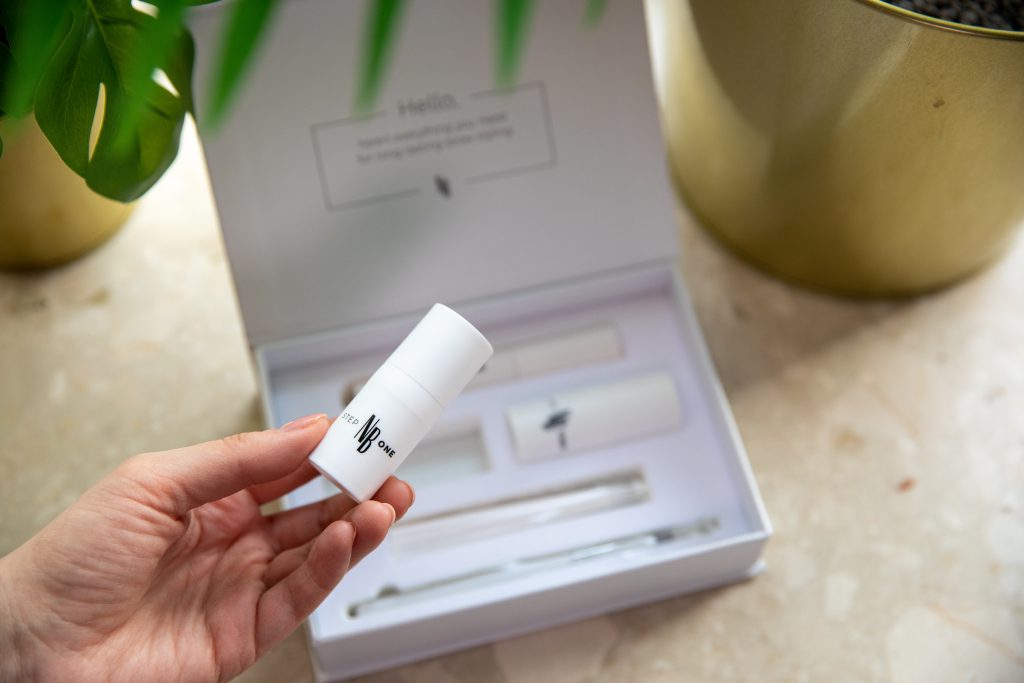
I’ve been using the Nanonbrow brow lamination kit for several months now. I know that Nanobrow cosmetics are gentle on my sensitive skin. The kit includes a special brow glue, a lifting solution, a fixer, 10 applicators, a brush, and a spoolie – everything you need for a brow lamination treatment at home. You’ll also need a couple of cotton pads. 🙂
It was recommended to me by a friend of mine who does eyebrow styling on a daily basis and uses Nanobrow cosmetics in her beauty salon. She convinced me that brow lamination at home is not difficult at all, and the results can last a really long time. What’s more, one Nanobrow eyebrow lamination kit is enough for 10 treatments! The treatment can be also complemented with, for example, brow tinting. The lamination treatment leaves the brows more susceptible to tinting, so apply the tint for only 3 minutes.
One of the most important aspects – the price. How much does a Nanobrow brow lamination kit cost? It’s about the equivalent of one visit to a beautician, and we have the option of doing as many as 10 lamination treatments at home for the price of 1.
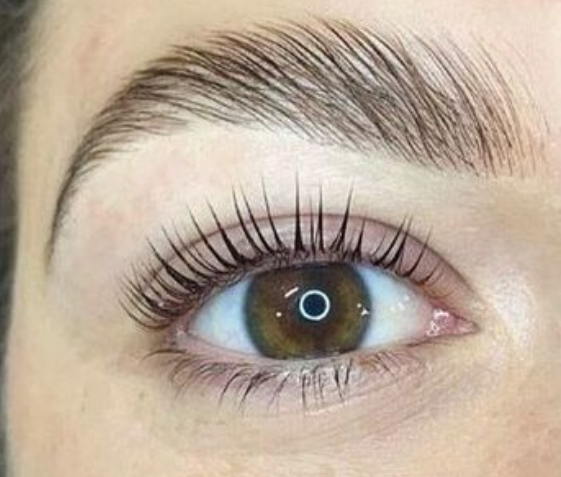
Effects:
- Soft, shiny, and manageable brows.
- Tamed unruly brows.
- Perfectly-styled eyebrows for 6 weeks.
- Regeneration, nourishment, and improved hydration.
- Thicker and fuller brow look.
- Visual brow lift effect.
Brow lamination at home – a step-by-step tutorial
- Cleanse your eyebrows with an oil-free water-based product.
- Use a special applicator to apply the glue (Brow glue) on the eyebrows and spread it thoroughly.
- Leave it on for 25-50 seconds.
- Apply the lifting solution (StepOne) with a brush, styling the brows in the right direction.
- Leave it on for 5-8 minutes.
- Remove the product with a dry cotton pad.
- Use a brush to apply the fixer (StepTwo), shaping eyebrows in the right direction.
- Leave it on for 5-8 minutes.
- Wipe it off with a moistened cotton pad.
- Brush through your brows with a spoolie and you’re done.
Brow lamination at home makes the brows appear fuller, facilitates daily brow styling, and the effects of an individual treatment last for couple of weeks. The treatment itself does not require any special skills, and all the necessary equipment is included in the Nanobrow eyebrow lamination kit 🙂
- Have you already tried brow lamination at home?
- Or are you just planning to do it?
You simply must check out Nanobrow Lamination Kit – you can find this brow lift kit in good beauty stores (I know it’s available in Douglas), but if you prefer online shopping, here’s a link: nanobrow.us
Sending you a big hug! 🙂